

How To Make Windows 10 Install Usb On Mac
Virtually new PCs don't come with DVD drives anymore. So information technology tin can be a pain to install Windows on a new calculator.
Luckily, Microsoft makes a tool that yous can employ to install Windows from a USB storage bulldoze (or "thumbdrive" as they are often called).
Just what if you don't have a second PC for setting up that USB storage drive in the first place?
In this tutorial we'll show you how you can set this up from a Mac.
Stride i: Download the Windows 10 ISO file
Yous can download the ISO file directly from Microsoft. That'south right - everything nosotros're going to practise hither is 100% legal and sanctioned by Microsoft.
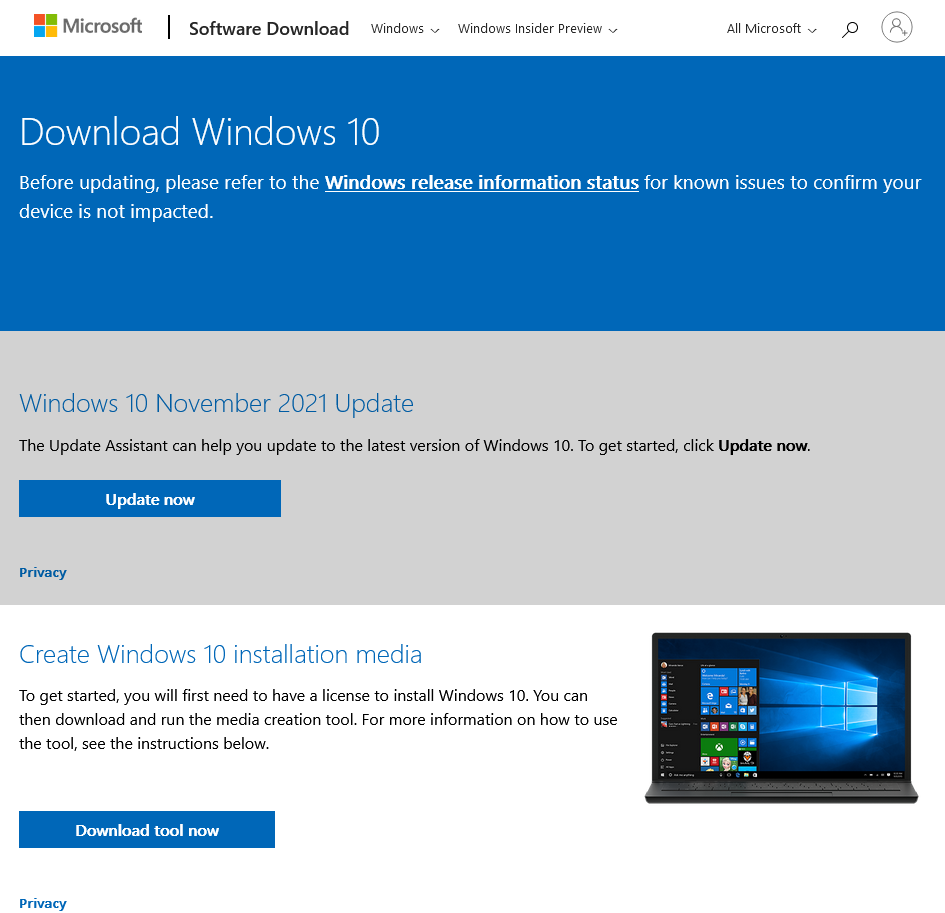
Y'all tin download Windows 10 directly from Microsoft for free using this link. If you visit the link using a Windows device, you'll be redirected to the Windows Media Creation Tool similar this:
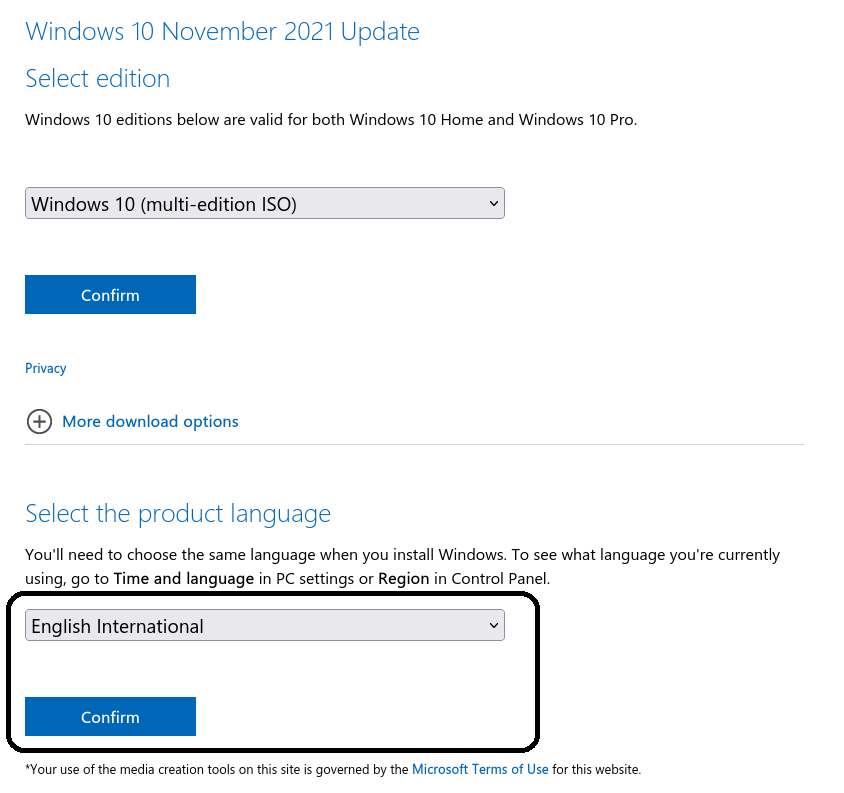
If yous visit the same link from a non-Windows device, such every bit a Mac or a Linux device or any smartphone, y'all'll country on the official ISO download page:
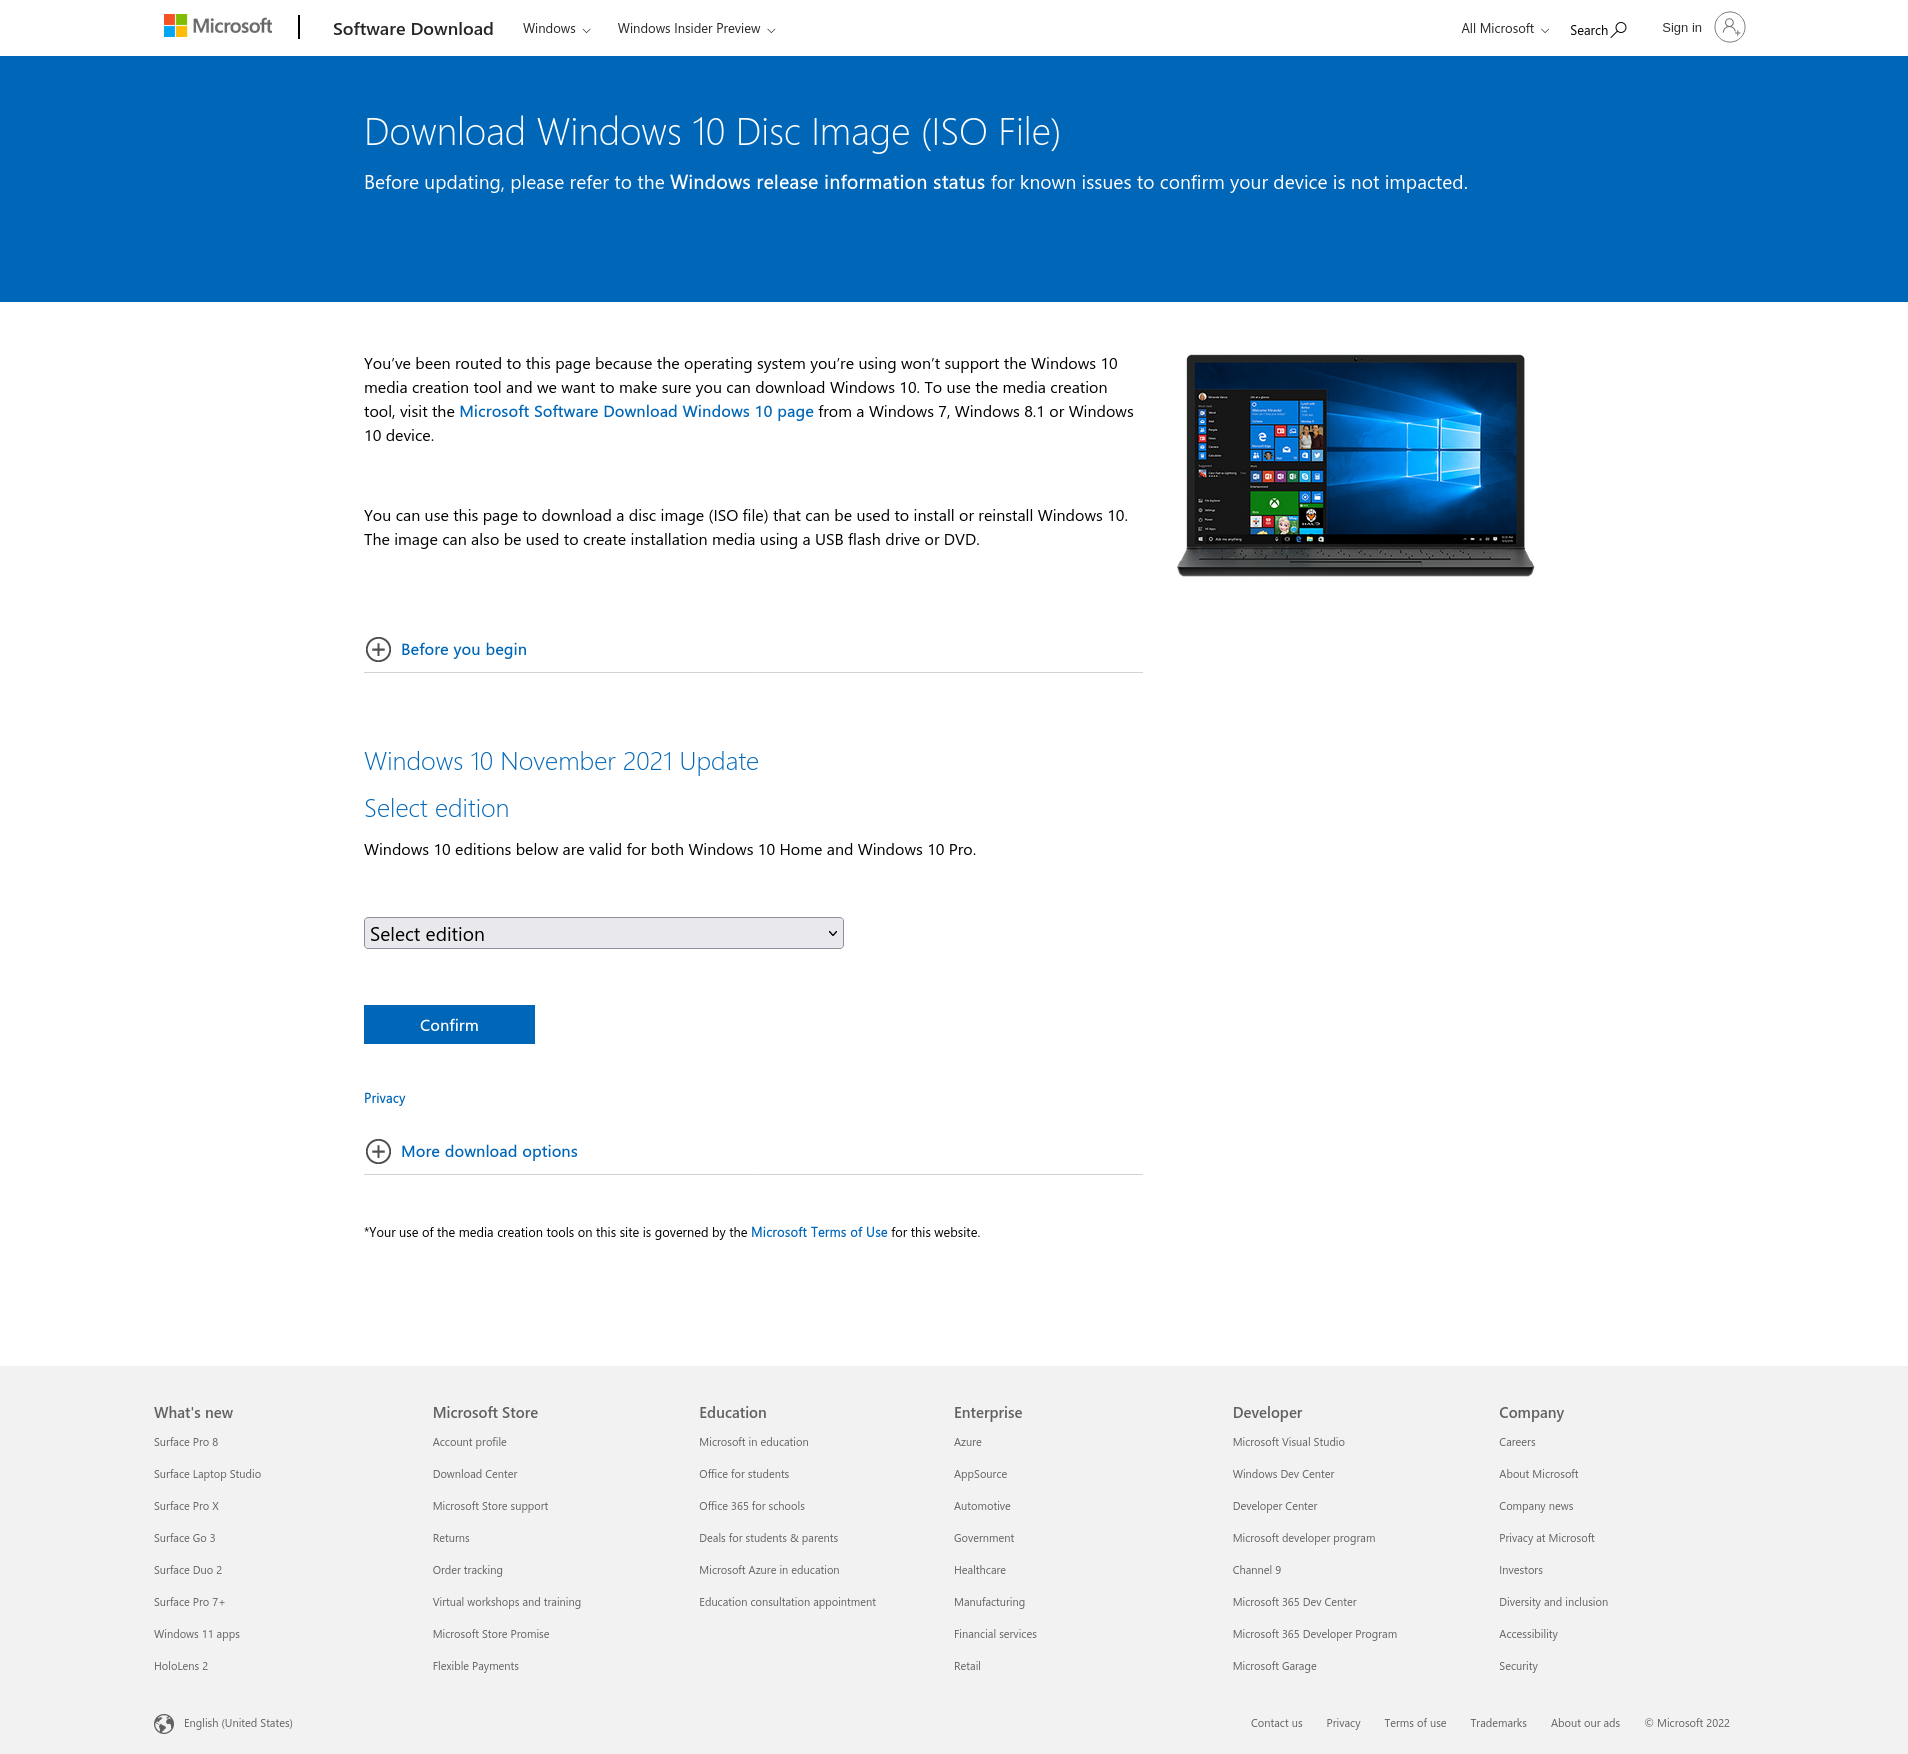
Select your desired edition from that drop-down and hitting Confirm.
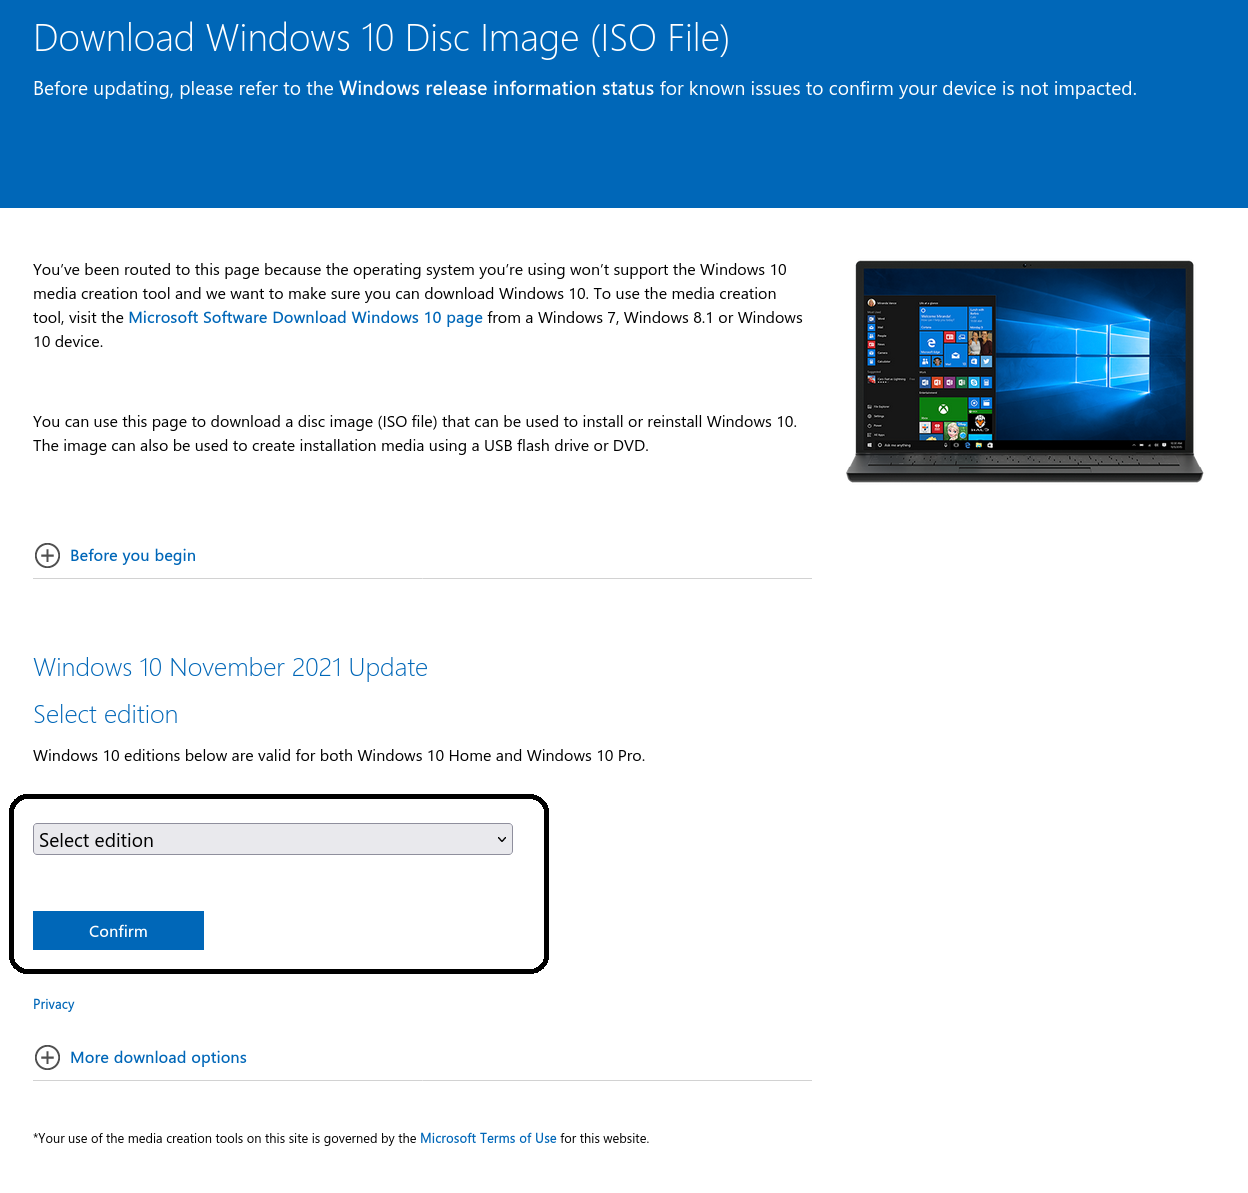
At this fourth dimension, Windows 10 (multi-edition ISO) was the only one available. Once you lot've confirmed your edition, you'll go some other drop-down that lets you pick a language. Pick the one you want and hit the Ostend button.
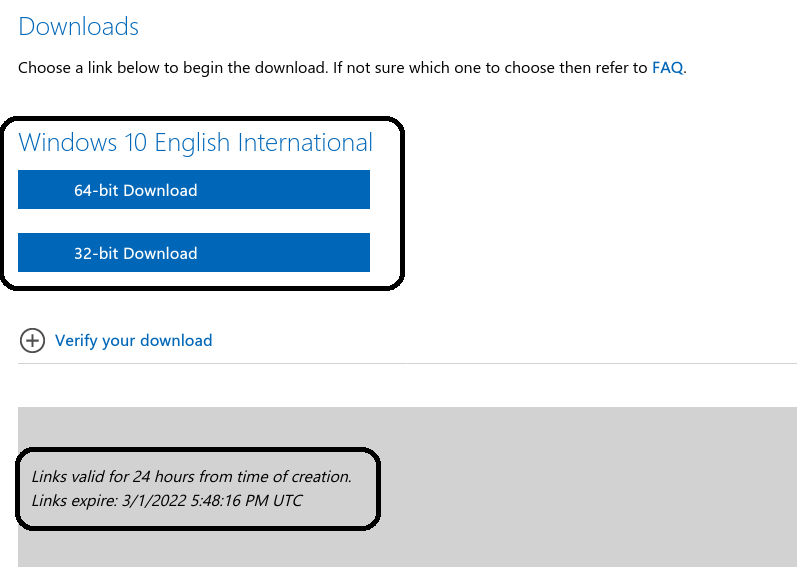
One time you've confirmed your language, you'll get two download links, i for the 64-flake edition, and the other i for the 32-bit edition. Both links are valid for 24 hours and the folio will besides testify when they expire.
If you don't know how to determine betwixt 64-fleck and 32-flake, here's what you lot should do. If you have a processor that supports 64-bit architecture and you have more than than 4GB of RAM, go with the 64-scrap one. 32-bit operating systems have a 4GB RAM limit.
To figure out whether your processor supports 64-scrap architecture or not, head over to a website like WikiChip, and search for your processor model.
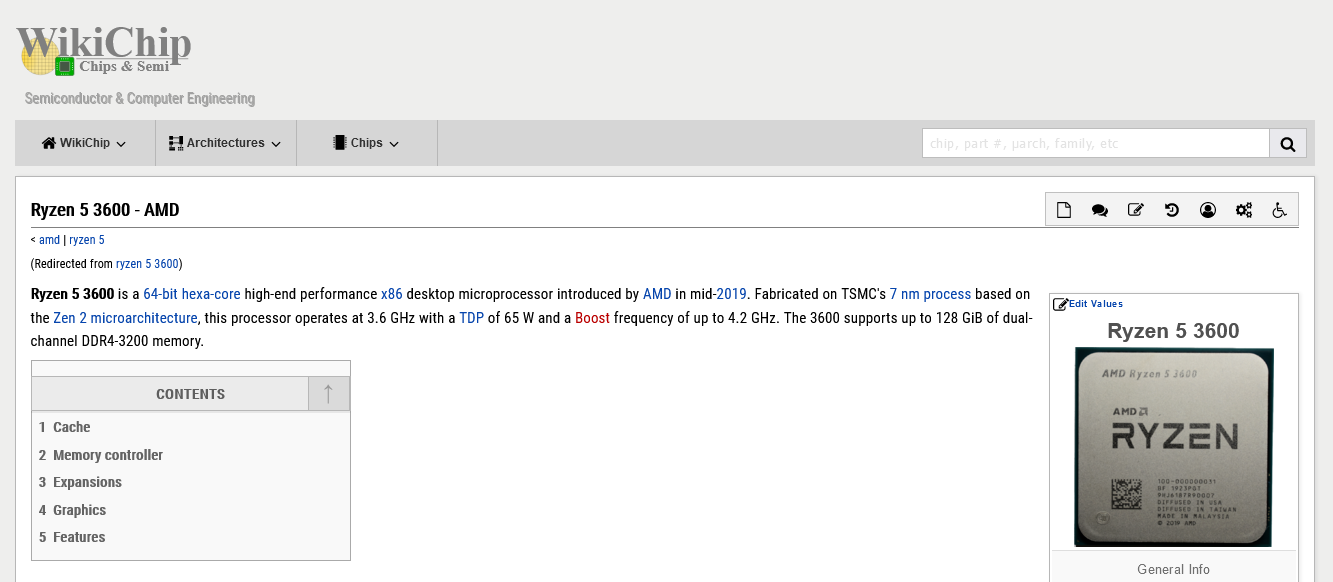
As you can meet in the screenshot above, my Ryzen 5 3600 supports 64-bit architecture. I also take 16GB of RAM which is a lot more 4GB, so I'll go for the 64-chip edition.
Footstep 2: Insert your USB storage drive into your Mac
The ISO file is just about v gigabytes, merely I recommend you use a USB drive with at least 16 gigabytes of infinite just in example Windows needs more space during the installation process.
I bought a 32 gigabyte USB drive at Walmart for but $iii, so this shouldn't be very expensive.
Stick your USB drive into your Mac. So open your terminal. Y'all can do this using MacOS Spotlight past pressing both the ⌘ and Infinite bar at the aforementioned time, then typing "final" and hit enter.
Don't be intimidated by the command line interface. I'one thousand going to tell you exactly which commands to enter.
Step 3: Use the diskutil command to identify which disk your USB drive is mounted on
Open Mac Spotlight using the ⌘ + space keyboard shortcut. And so type the give-and-take "terminal" and select Terminal from the dropdown list.
Paste the following command into your terminal and hit enter:
diskutil list
You will encounter output similar this (note - your Mac'south terminal may be black text on a white background if y'all haven't customized it).
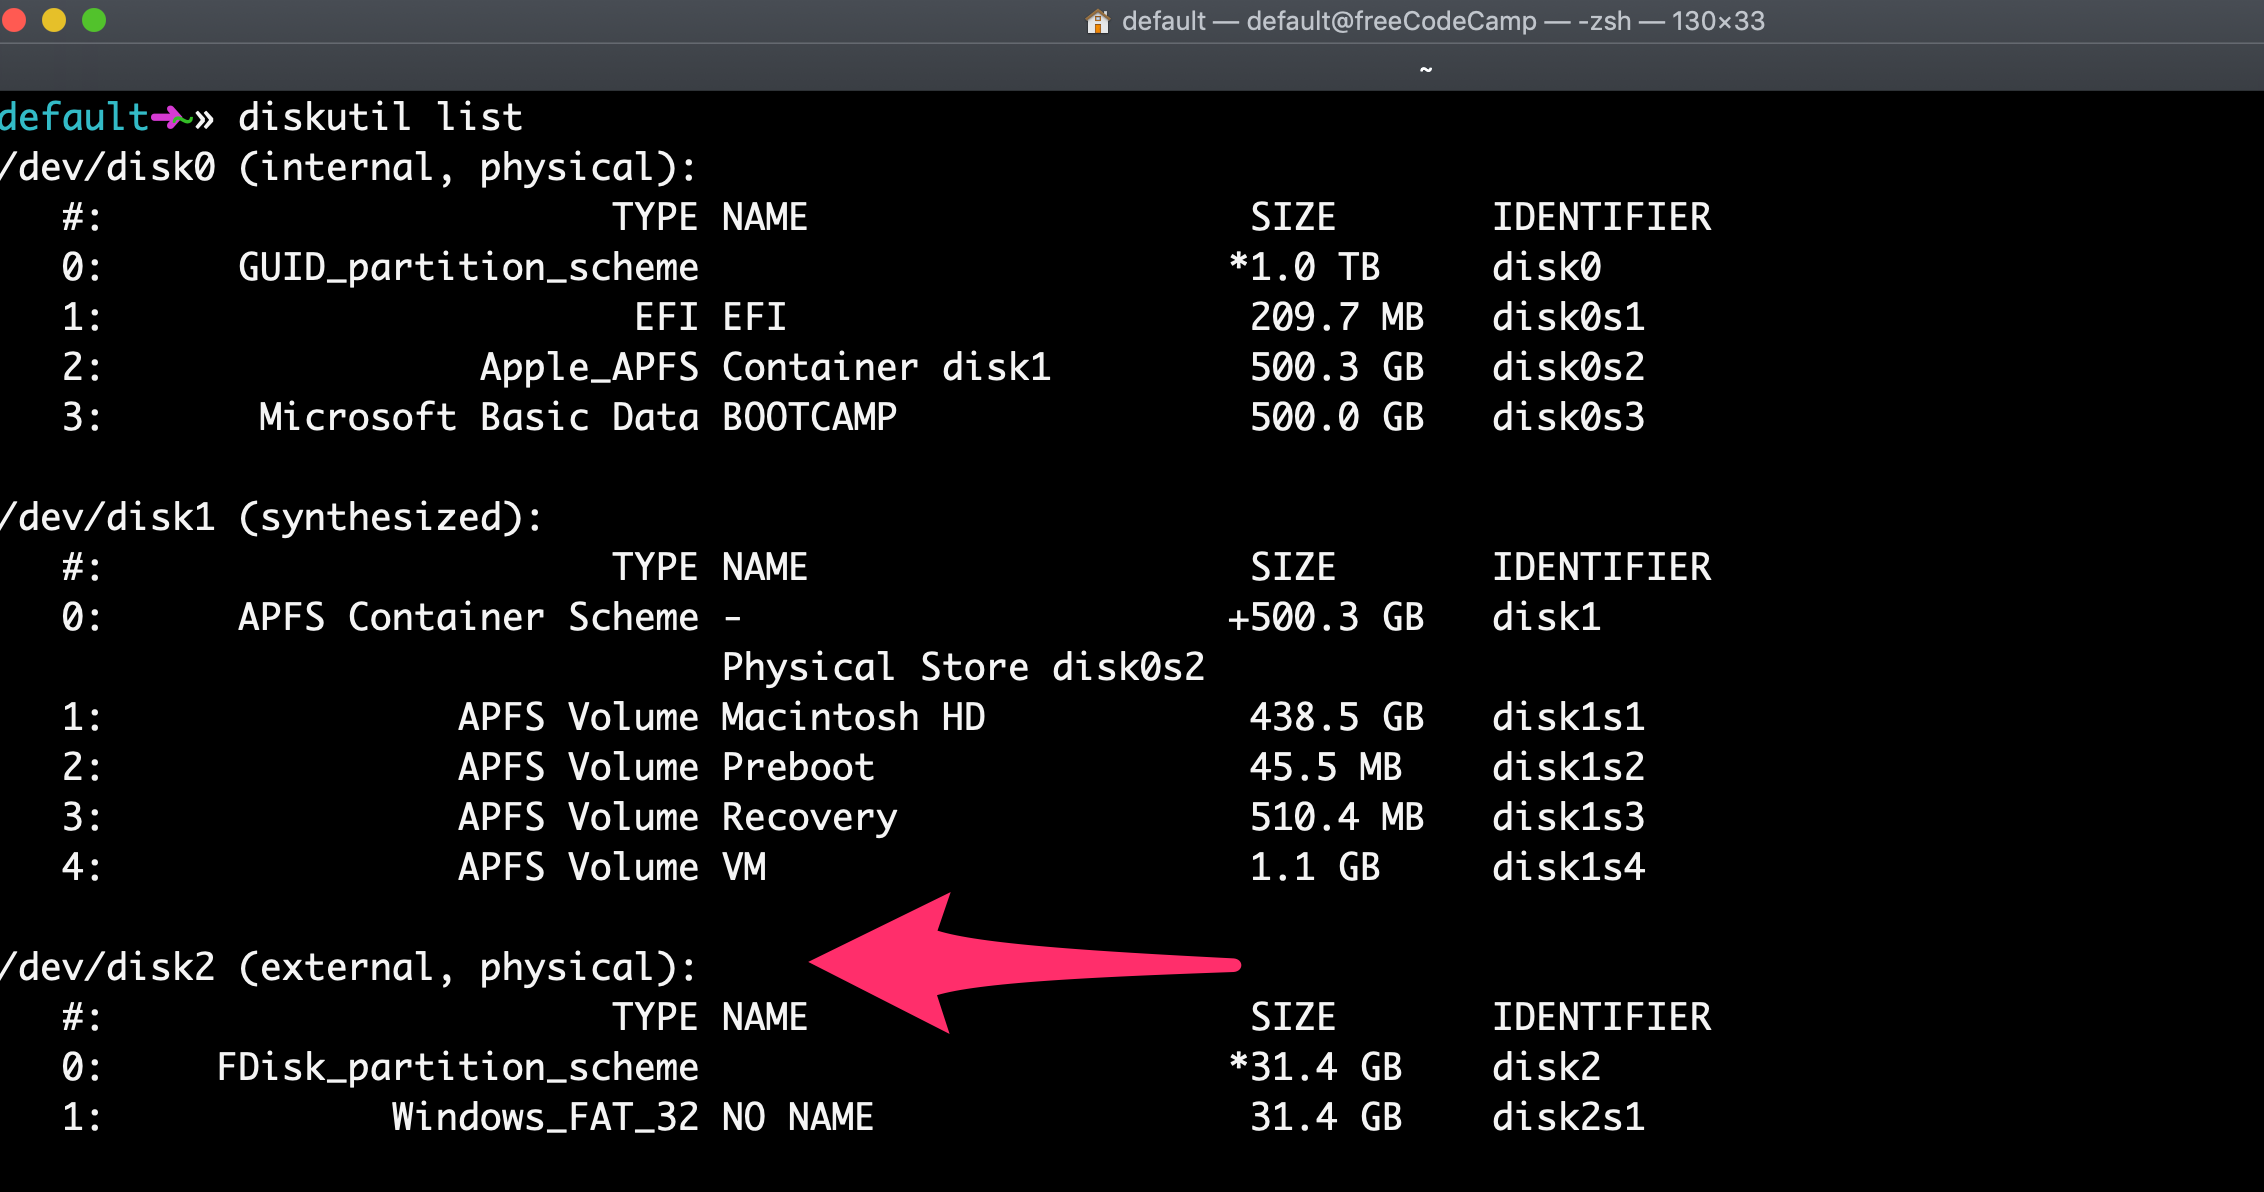
Copy the text I betoken to hither. It will probably be something similar
/dev/disk2.
Step 4: Format your USB Bulldoze to work with Windows
Adjacent format your USB drive to Windows FAT32 format. This is a format that Windows ten will recognize.
Annotation that you should replace the disk2 with the name of the your drive from step 3 if it wasn't disk2. (It may be disk3 or disk4).
Run this command using the right disk number for your USB:
diskutil eraseDisk MS-DOS "WIN10" GPT /dev/disk2
Then you lot'll see terminal output like this.
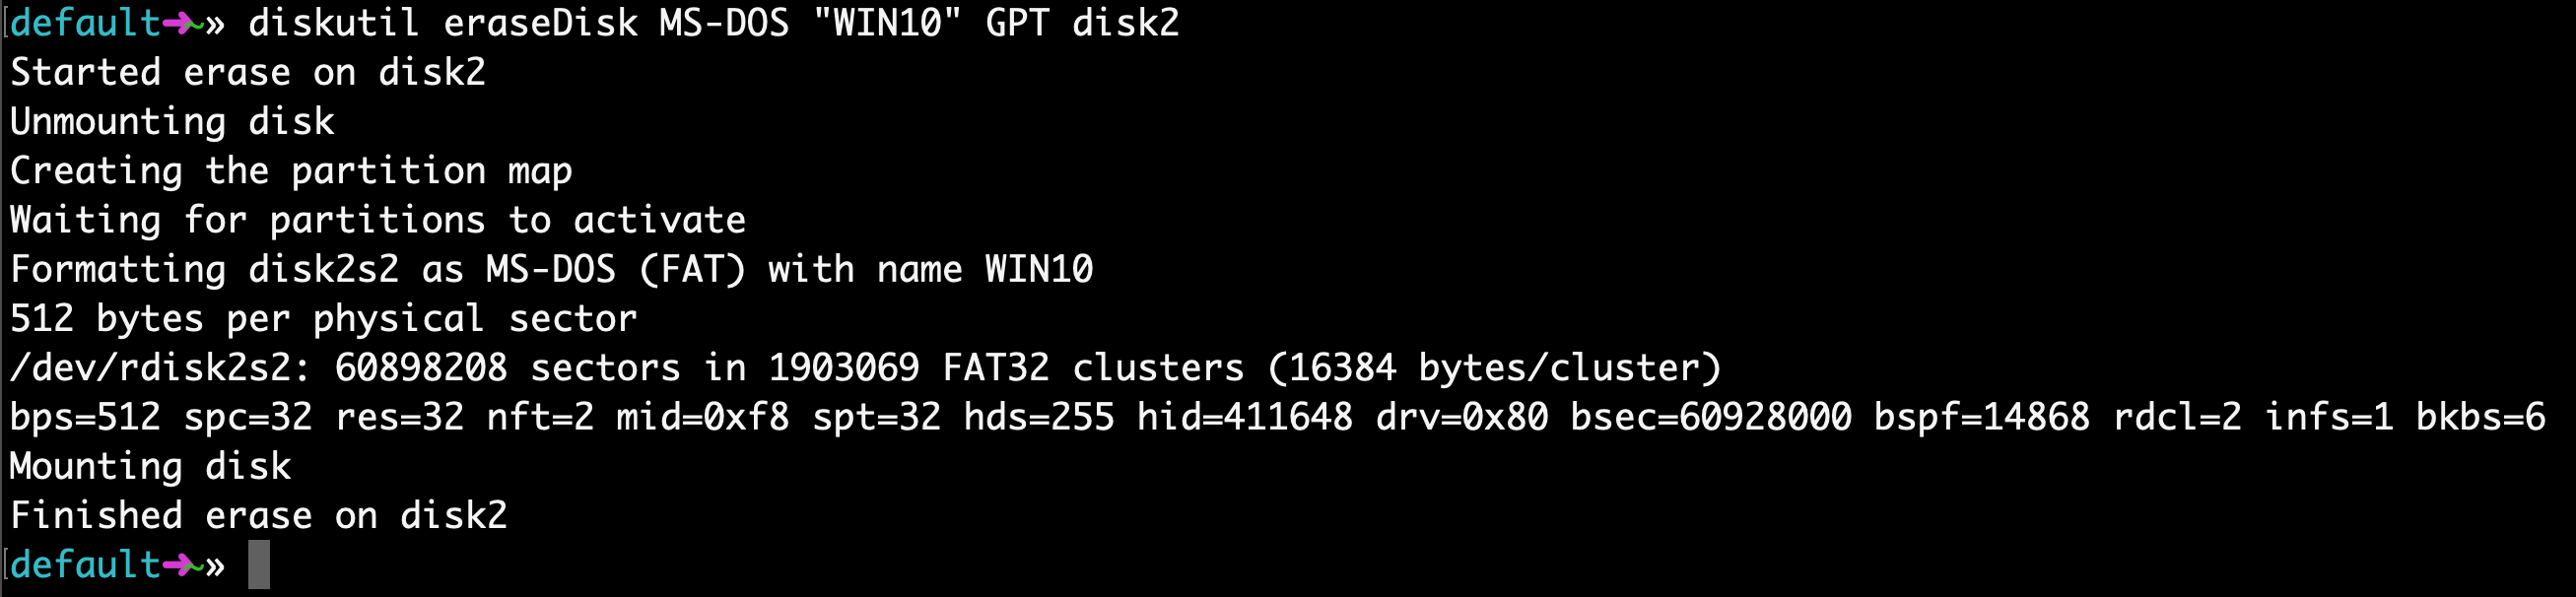
This will probably only have about 20 seconds on a newer calculator, but may take longer on an older computer.
Note that for some hardware, you may instead need to run this control, which uses the MBR format for sectionalization instead of GPT. Come dorsum and try this control if stride seven fails, so redo steps 5, half dozen, and 7:
diskutil eraseDisk MS-DOS "WIN10" MBR /dev/disk2 Step 5: Use hdiutil to mount the Windows x folder and ready information technology for transfer.
Now we're going to prep our downloaded ISO file and so we can copy information technology over to our USB drive.
Y'all will demand to check where your downloaded Windows 10 ISO file is and use that. Only your file is probably located in your ~/Downloads binder with a name of Win10_1903_V1_English_x64.iso.
hdiutil mountain ~/Downloads/Win10_1903_V1_English_x64.iso
Step half-dozen: Copy the Windows ten ISO over to your USB Drive
Update April 2020: One of the files in the Windows 10 ISO – install.wim – is now also large to copy over to a Fat-32 formatted USB drive. And then I'll show you how to copy it over separately.
Thank yous to @alexlubbock for coming up with this workaround.
First run this command to re-create over everything simply that file:
rsync -vha --exclude=sources/install.wim /Volumes/CCCOMA_X64FRE_EN-US_DV9/* /Volumes/WIN10
Then run this command to install Homebrew (if y'all don't accept it installed on your Mac notwithstanding):
/usr/bin/ruby -e "$(curl -fsSL https://raw.githubusercontent.com/Homebrew/install/master/install)"
And so apply Homebrew to install a tool called wimlib with this terminal control:
mash install wimlib
Then get ahead and create the directory that you're going to write the files into:
mkdir /Volumes/WIN10/sources
Then run this command. Note that this process may take several hours, y'all may run into 0% progress until it finishes. Don't arrest information technology. It will use wimlib to split the install.wim file into ii files less than 4 GB each (I use three.8 GB in the following command), and then copy them over to your USB:
wimlib-imagex split /Volumes/CCCOMA_X64FRE_EN-US_DV9/sources/install.wim /Volumes/WIN10/sources/install.swm 3800
Once that'southward done, you tin squirt your USB from your Mac within Finder. Note that Windows will automatically rejoin these files after when you're installing.
Step 7: Put your USB into your new PC and start loading Windows
Congratulations - your computer now should boot straight from your USB drive. If it doesn't, you may demand to check your new PC'southward BIOS and change the boot lodge to boot from your USB drive.
Windows will pop upward a screen and showtime the installation process.
Savour your new PC, and your newly-installed copy of Windows.
Learn to code for costless. freeCodeCamp's open source curriculum has helped more than 40,000 people get jobs as developers. Get started
Source: https://www.freecodecamp.org/news/how-make-a-windows-10-usb-using-your-mac-build-a-bootable-iso-from-your-macs-terminal/
Posted by: powershiste1968.blogspot.com
0 Response to "How To Make Windows 10 Install Usb On Mac"
Post a Comment